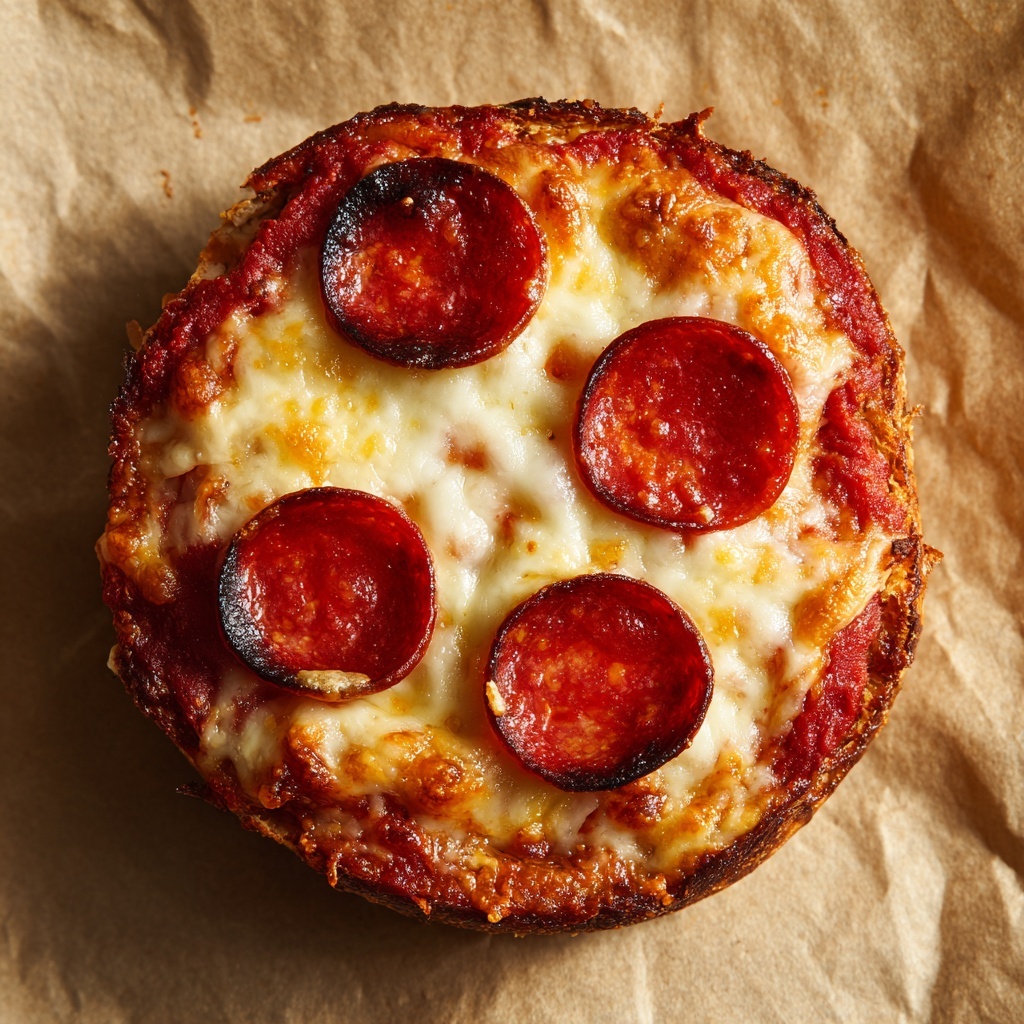
If you’re on the hunt for a delightful, kid-friendly meal that’s both fun to make and absolutely delicious, this Mini Lunchbox Pizzas Recipe is going to become your new best friend in the kitchen. These bite-sized pizzas are perfect for packing into lunchboxes or serving as a party snack, combining the perfect blend of crispy crust, tangy tomato sauce, melty mozzarella, and savory pepperoni in a charming little package. Easy to whip up and endlessly customizable with your favorite toppings, this recipe turns pizza night into a joyful, hands-on experience that everyone will love.
Ingredients You’ll Need
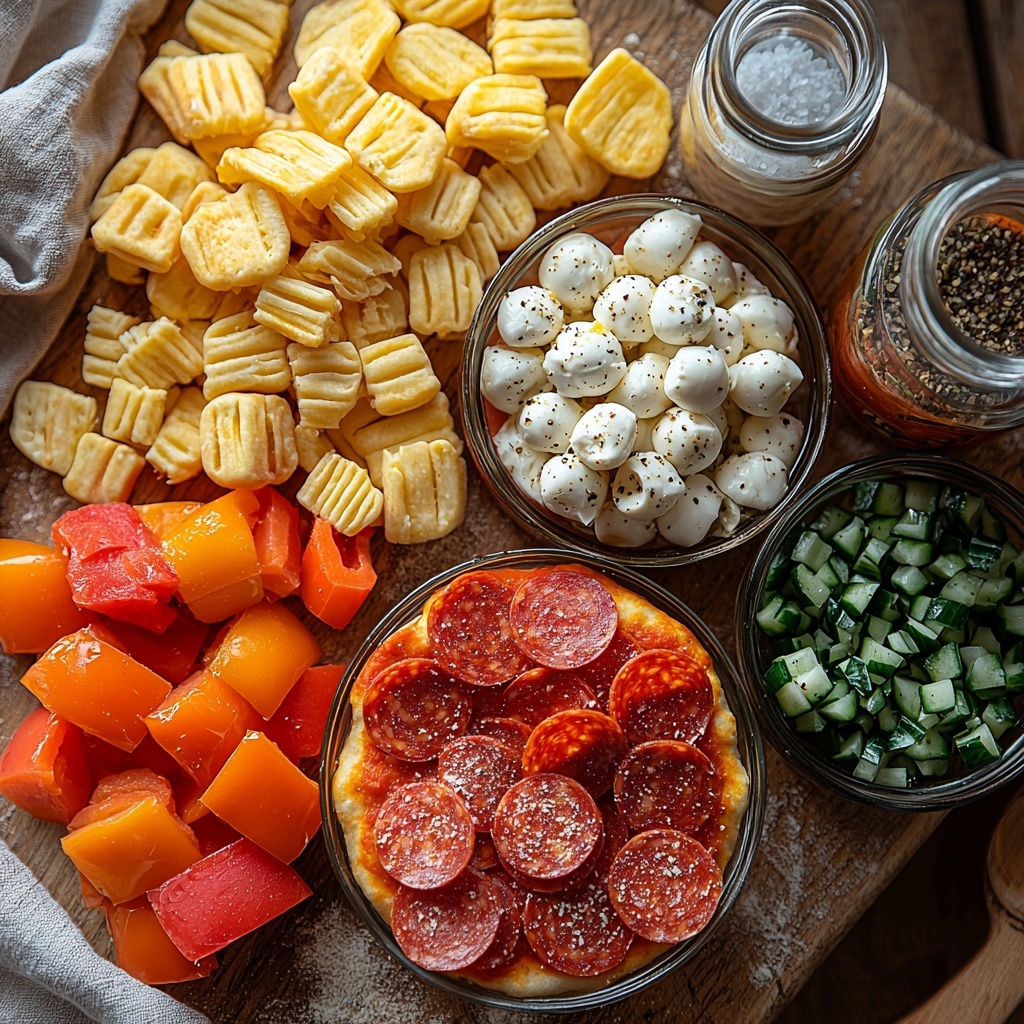
Gathering a handful of simple, everyday ingredients is all it takes to create these irresistible mini bites. Each component plays an essential role in building layers of flavor and texture that are perfectly balanced and kid-approved.
- Refrigerated crescent roll or biscuit dough: Provides a soft yet slightly crisp crust base that’s easy to shape into mini pizza cups.
- Pizza sauce: The rich, tangy foundation that brings authentic Italian flavor to each bite.
- Shredded mozzarella cheese: Melts beautifully to give that gooey, cheesy goodness everyone loves.
- Mini or diced pepperoni: Adds a tasty, slightly spicy kick and classic pizzeria charm.
- Italian seasoning: Offers a fragrant herbaceous note to elevate the overall taste.
- Olive oil spray or melted butter (optional): A light brushing for extra golden edges and flavor.
- Extra toppings (optional): Diced bell peppers, olives, mushrooms, or any favorite veggies for variety.
How to Make Mini Lunchbox Pizzas Recipe
Step 1: Prepare the Dough Cups
Start by preheating your oven to 375°F and lightly greasing a mini muffin tin—this helps prevent sticking and ensures easy removal later. Unroll your dough and divide it into 12 equal pieces. Press each piece firmly into a muffin cup, pushing the dough up the sides so it forms a small crust container that’s perfectly sized for a single serving.
Step 2: Add the Sauce and Cheese
Spoon about one teaspoon of pizza sauce into each dough cup, spreading it just enough to cover the bottom evenly. Next, sprinkle on a generous pinch of shredded mozzarella so you get cheesy pockets in every bite. This step is where the magic really starts to take shape!
Step 3: Top Your Mini Pizzas
Scatter a few pieces of your chosen pepperoni or any other toppings over the cheese. Don’t forget to dust everything lightly with Italian seasoning—it adds a professional gourmet touch imparting depth and aroma that truly elevates these pint-sized pizzas.
Step 4: Bake to Perfection
Pop the muffin tin in the oven and bake for 10 to 12 minutes. You’ll know they’re done when the crust turns golden brown and the cheese is bubbly and melted. Once baked, let your mini pizzas cool in the tin for about five minutes before carefully removing them to prevent any breaking.
Step 5: Ready to Serve or Pack
These mini pizzas are just as delightful warm from the oven or cooled completely for an easy lunchbox treat. Their petite size makes them incredibly portable and a big hit at any mealtime.
How to Serve Mini Lunchbox Pizzas Recipe
Garnishes
If you want to add a fresh twist to your mini pizzas, sprinkle some chopped fresh basil or parsley on top just before serving. A light drizzle of balsamic glaze also pairs wonderfully, giving a hint of sweetness and sophistication.
Side Dishes
Pair your mini lunchbox pizzas with crisp veggie sticks, a colorful fruit salad, or even a small side of garlic parmesan roasted potatoes for a well-rounded meal. These easy sides complement the flavors and help balance the meal nutritionally.
Creative Ways to Present
For a fun presentation, arrange the mini pizzas on a platter surrounded by small bowls of dipping sauces such as ranch, marinara, or spicy mustard. You could also serve them on cute cupcake stands or use themed lunchboxes to delight little eaters at school or parties.
Make Ahead and Storage
Storing Leftovers
Once cooled, store any leftover mini lunchbox pizzas in an airtight container in the refrigerator. They will stay fresh for up to 3 days, making them a perfect grab-and-go snack or lunch option during a busy week.
Freezing
These mini pizzas are wonderfully freezer-friendly. Place them on a baking sheet lined with parchment paper and freeze until firm, then transfer to a freezer-safe bag or container. They’ll keep for up to a month, ready to be reheated anytime you need a quick bite.
Reheating
To reheat, simply warm the mini pizzas in the oven at 350°F for about 5 to 7 minutes or microwave for 30 to 45 seconds. Reheating in the oven helps maintain the crust’s crispness, while the microwave is your quick fix.
FAQs
Can I use store-bought pizza dough instead of crescent roll dough?
Absolutely! Store-bought pizza dough works great and may give you a chewier crust. Just be sure to roll it out and cut into small pieces to fit your mini muffin tin.
What are some good vegetarian topping options?
Try diced bell peppers, mushrooms, black olives, cherry tomatoes, spinach, or artichoke hearts. These add vibrant color and fresh flavors without sacrificing that classic pizza taste.
Are these mini pizzas suitable for freezing and reheating?
Yes! They freeze beautifully and reheat well, making them fantastic for meal prepping or saving for later. Just follow the freezing and reheating tips for best results.
Can I make this recipe dairy-free?
Definitely! Use a dairy-free mozzarella alternative and check that your dough and sauce are free of dairy ingredients to tailor this recipe to your dietary needs.
How long will these mini pizzas keep in the refrigerator?
Stored properly, they will stay fresh in the fridge for about 3 days. Just be sure to keep them airtight to maintain moisture and prevent them from drying out.
Final Thoughts
Making Mini Lunchbox Pizzas Recipe is such a joy because it brings together simplicity, flavor, and fun all in one bite-sized package. Whether you’re preparing lunch for your kids, planning a casual get-together, or just craving a quick snack that feels like a treat, these mini pizzas never disappoint. Give this recipe a try and watch it become a staple your family asks for again and again.
Print
Mini Lunchbox Pizzas Recipe
- Prep Time: 10 minutes
- Cook Time: 12 minutes
- Total Time: 22 minutes
- Yield: 12 mini pizzas
- Category: Lunch
- Method: Baking
- Cuisine: American
- Diet: Kid-Friendly
Description
Mini Lunchbox Pizzas are bite-sized, easy-to-make pizza treats perfect for kids’ lunches or snack time. Made with crescent or biscuit dough, topped with classic pizza sauce, mozzarella cheese, pepperoni, and Italian seasoning, these mini pizzas bake quickly in a muffin tin to create a crispy crust and melty cheesy center that’s both fun and delicious.
Ingredients
Dough
- 1 can (8 ounces) refrigerated crescent roll dough or biscuit dough
Toppings
- 1/2 cup pizza sauce
- 3/4 cup shredded mozzarella cheese
- 1/4 cup mini pepperoni or diced regular pepperoni
- 1/4 teaspoon Italian seasoning
- Olive oil spray or melted butter for brushing (optional)
- Extra toppings like diced bell peppers, olives, or mushrooms (optional)
Instructions
- Prepare the Oven and Muffin Tin: Preheat the oven to 375°F (190°C) and lightly grease a mini muffin tin to prevent sticking.
- Shape the Dough: Unroll the crescent or biscuit dough and cut it into 12 equal pieces. Press each piece into a mini muffin cup, pushing the dough up the sides to form a crust bowl.
- Add Sauce and Toppings: Spoon about 1 teaspoon of pizza sauce into each dough cup. Sprinkle a moderate amount of shredded mozzarella cheese over the sauce, then add a few pieces of mini or diced pepperoni. Optionally include diced bell peppers, olives, or mushrooms for extra flavor. Finish by sprinkling Italian seasoning over each pizza.
- Bake the Mini Pizzas: Place the muffin tin in the preheated oven and bake for 10 to 12 minutes, or until the dough is golden brown and the cheese is melted and bubbly.
- Cool and Serve: Allow the mini pizzas to cool in the muffin tin for 5 minutes before carefully removing them. Serve warm, or let cool completely before packing in lunchboxes.
Notes
- These mini pizzas can be made ahead and stored in the refrigerator for up to 3 days or frozen for up to a month.
- Reheat frozen or refrigerated mini pizzas in the oven or microwave before serving to restore crispness and warmth.
- Feel free to customize toppings based on preference—vegetables, different cheeses, or meats all work well.
- Brushing the crust with olive oil or melted butter before baking can add a nice golden color and extra flavor.


