If you’re looking to add a spark of joy and creativity to your next gathering, the DIY Dessert S’mores Station Recipe is an absolute must-try. This fun and interactive treat lets everyone become their own little chef, customizing their s’mores with a delightful mix of marshmallow flavors, chocolate varieties, fresh fruit, and an assortment of crunchy bases. It’s the perfect sweet activity to bring friends and family together, evoking cozy campfire vibes without ever leaving your kitchen or backyard. Whether you’re planning a casual party or a special dessert spread, this DIY Dessert S’mores Station Recipe is all about delicious simplicity and endless fun.
Ingredients You’ll Need
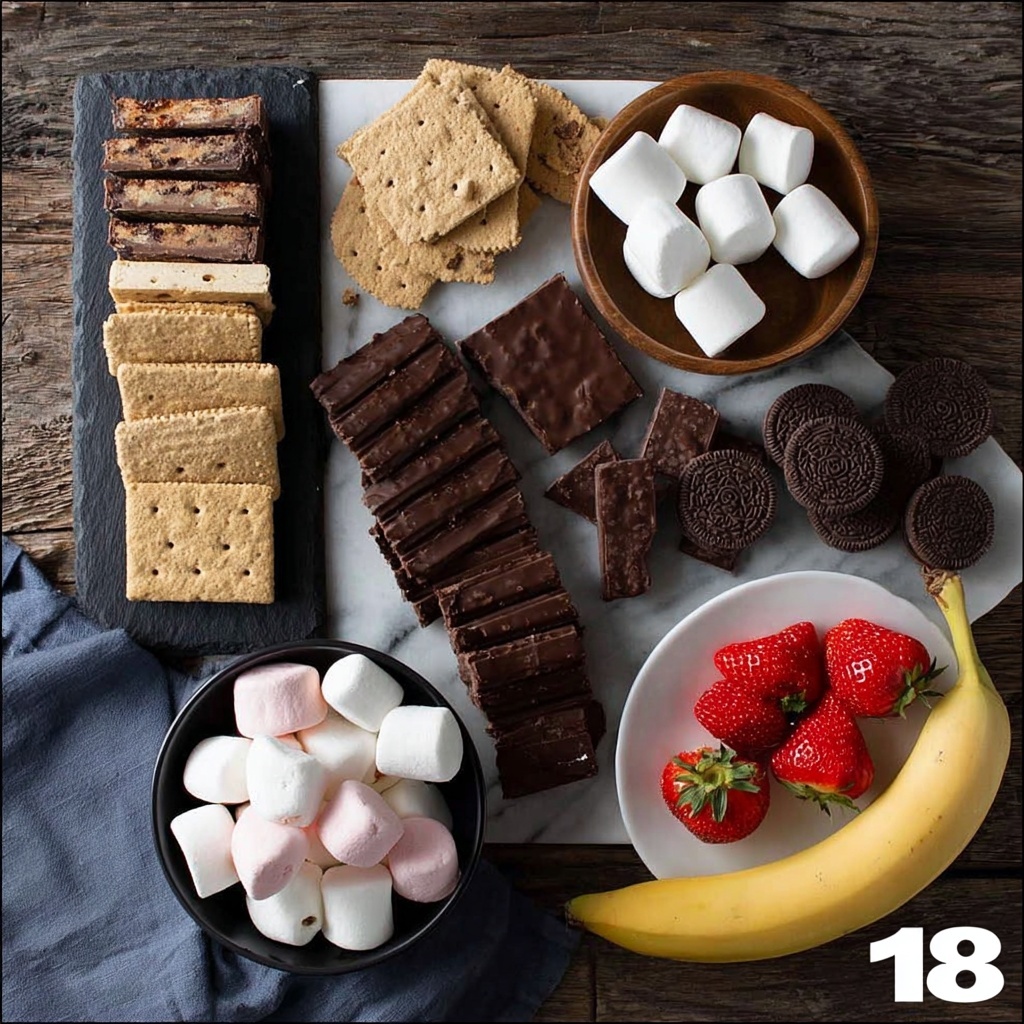
This recipe keeps things beautifully simple, but each ingredient plays a starring role in creating that perfect blend of textures and flavors. From fluffy marshmallows to rich chocolate bars and fresh fruit, everything combines to elevate your s’mores experience to the next level.
- Regular marshmallows: Classic and fluffy, perfect for that traditional s’mores magic.
- Strawberry marshmallows: Adds a fruity twist and a pop of color to your s’mores creation.
- Mint chocolate chip marshmallows: A refreshing surprise with a minty coolness that complements the chocolate.
- Peanut butter cups: Creamy peanut butter adds richness and a salty-sweet balance.
- Dark chocolate bars: For a deeper, slightly bitter bite that enhances sweetness.
- Milk chocolate bars: Melts smoothly and brings that traditional s’mores flavor.
- Banana slices: Natural sweetness and softness that pairs beautifully with melted chocolate.
- Strawberry slices: Bright, juicy, and fresh — perfect for adding a light fruitiness.
- Graham crackers: The classic crunchy base that holds it all together.
- Chocolate chip cookies: Adds extra chunks of chocolate and a chewy texture.
- Brownie brittle: A delightful crunch that gives your s’mores an indulgent edge.
- Chocolate graham crackers: Bringing extra chocolate flavor and a twist on the classic cracker.
How to Make DIY Dessert S’mores Station Recipe
Step 1: Prepare the Marshmallows and Bases
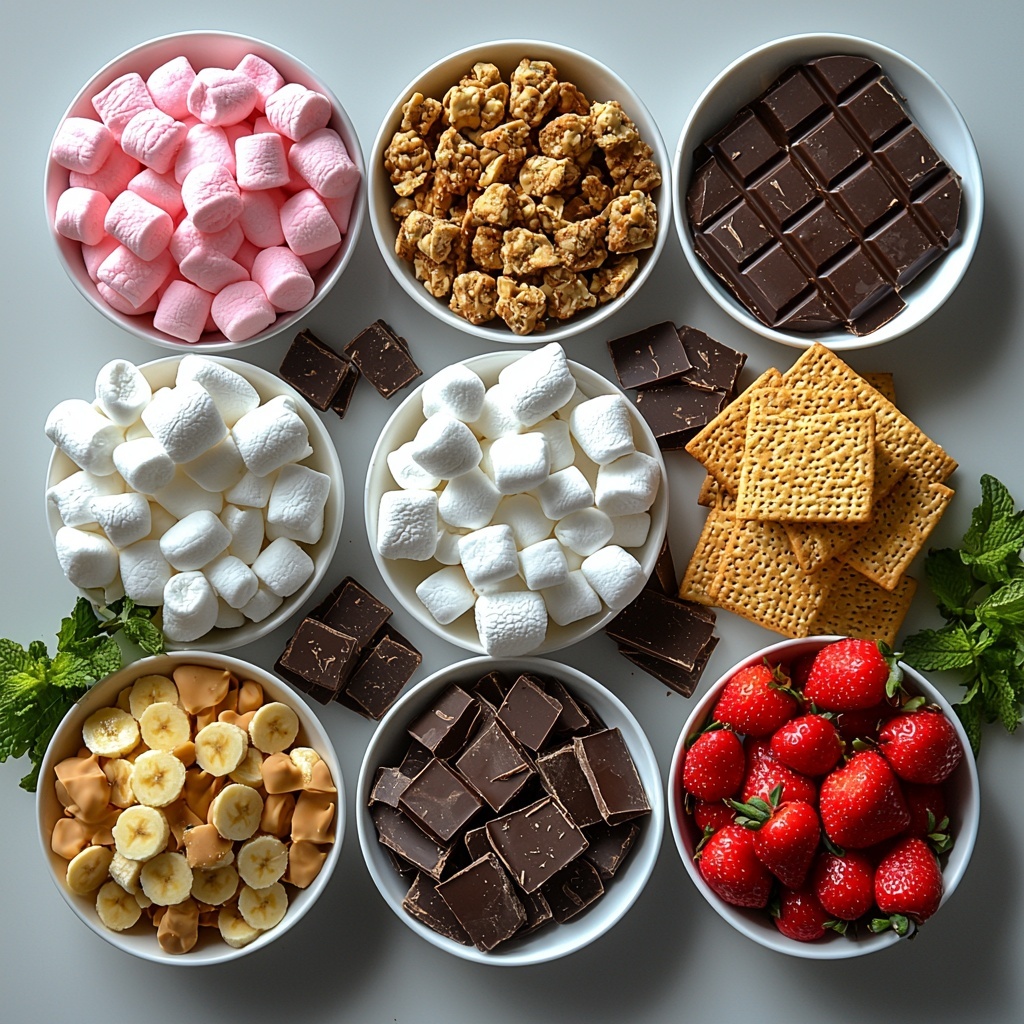
Start by setting up your marshmallows in separate bowls. This not only makes it easier to pick flavors, but also looks inviting to guests. Lay out your graham crackers, chocolate chip cookies, brownie brittle, and chocolate graham crackers on a serving tray. This variety means everyone can find their perfect crisp foundation for s’mores.
Step 2: Arrange the Chocolate Selection
Place your milk chocolate bars, dark chocolate bars, and peanut butter cups in a bowl or on a plate near the marshmallows. Having a chocolate variety encourages your guests to experiment, mixing creamy peanut butter cups with dark chocolate or stacking milk chocolate chunks for ultimate melty goodness.
Step 3: Prep Fresh Fruit
Slice up fresh strawberries and bananas and arrange them on separate plates. The fresh fruit adds a refreshing element and a burst of color that brightens the entire presentation. Plus, it balances out the richness of the chocolate and marshmallows for a more nuanced flavor profile.
Step 4: Roast and Build
This is the best part—roast your marshmallows to golden perfection over a flame or with a kitchen torch, then start assembling your s’mores by stacking your favorite combination of cookie or cracker, chocolate, roasted marshmallow, and fresh fruit. Let your imagination run wild!
How to Serve DIY Dessert S’mores Station Recipe
Garnishes
For an extra touch, sprinkle crushed nuts, mini chocolate chips, or a drizzle of caramel or chocolate sauce nearby. These garnishes encourage guests to create truly gourmet s’mores that look as delightful as they taste.
Side Dishes
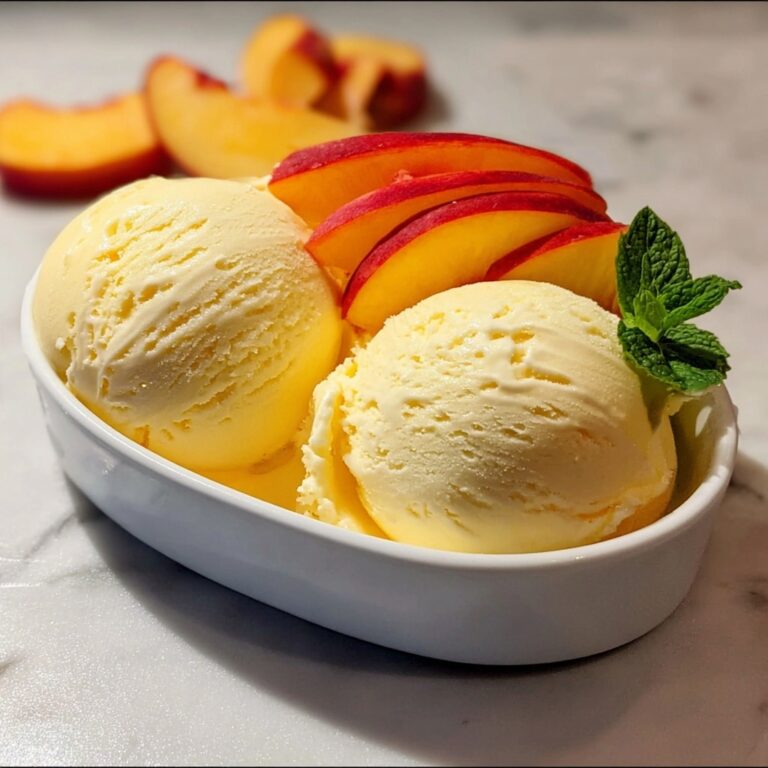
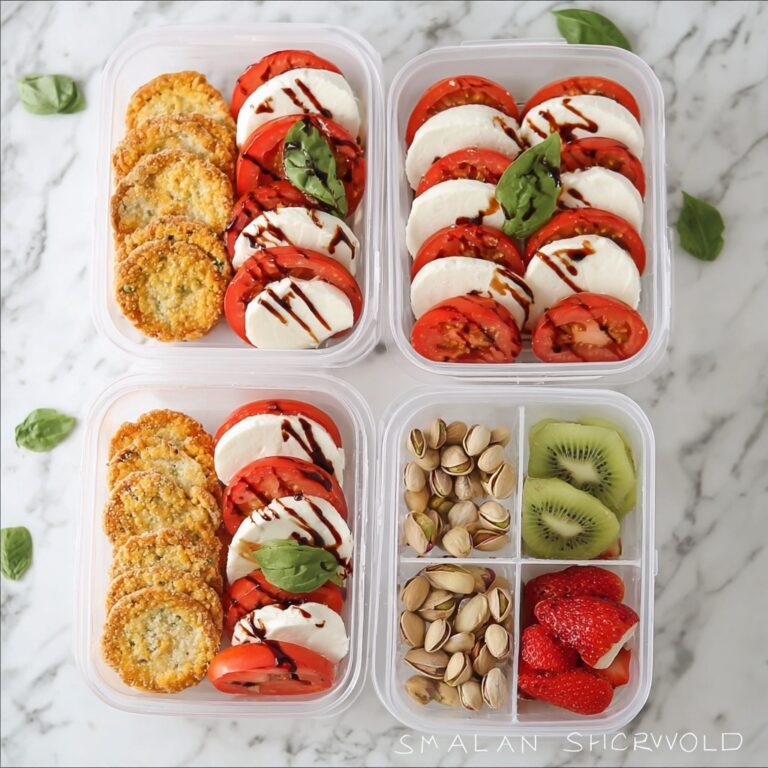
Pair the s’mores station with light, refreshing sides like fresh berry bowls or a cool vanilla ice cream scoop to complement the warm, melty s’mores. You might also offer coffee, hot chocolate, or cold milk to balance the sweetness.
Creative Ways to Present
Set up your DIY Dessert S’mores Station Recipe on a rustic wooden table or tray layered with parchment paper for a cozy vibe. Use small chalkboard signs labeling each ingredient to add charm and ease. You could also group the ingredients by flavor themes, such as “Fruity Favorites” or “Chocolate Lovers’ Corner” for a fun twist.
Make Ahead and Storage
Storing Leftovers
If you have any leftover s’mores components, store marshmallows in an airtight container to keep them fluffy. Keep chocolates sealed in a cool, dry place to prevent melting or bloom, and store fresh fruits in the refrigerator, using them within a day or two for best quality.
Freezing
While assembled s’mores don’t freeze well, you can freeze brownies or cookies beforehand. Wrap them tightly and thaw at room temperature before setting up your station. Freezing fresh fruit slices is not recommended as they tend to lose texture and become mushy.
Reheating
If your marshmallows lose their warmth or your chocolate firms up, simply pop your s’more in a microwave for a few seconds or briefly reheat over a warm flame to bring back that gooey, melty magic.
FAQs
Can I use alternative marshmallow flavors in this DIY Dessert S’mores Station Recipe?
Absolutely! The beauty of this station is customization, so feel free to add any marshmallow flavors you love or even different shapes and sizes for added fun.
What’s the best way to roast marshmallows indoors?
Using a kitchen torch is a safe and effective way to roast marshmallows indoors, giving you control for perfect toasting without an open flame. Alternatively, you can toast them over a gas stovetop burner carefully.
Can I make s’mores gluten-free with this recipe?
Yes! Simply swap out graham crackers and cookie bases for gluten-free versions, and ensure that your chocolates and other add-ins are also certified gluten-free.
How do I keep the s’mores station hygienic when hosting multiple guests?
Provide tongs and clean utensils for each ingredient, and consider setting up individual plates or skewers for roasting to minimize shared contact. Also, encourage hand washing before guests start assembling their treats.
What are some fun variations for the DIY Dessert S’mores Station Recipe?
Try adding nut butters, different fruit options like kiwi or mango, flavored chocolate bars, or even a sprinkle of sea salt or chili powder for adventurous taste buds. The options are endless and super exciting to explore!
Final Thoughts
The DIY Dessert S’mores Station Recipe is more than just a dessert—it’s a delightful experience that brings people together in the most delicious way. The mix of textures, flavors, and colors makes every bite a treat, while the interactive setup adds a layer of fun that kids and adults alike will adore. So next time you want to wow your guests or just enjoy a cozy night in, set up this s’mores station and watch smiles ignite just like the marshmallows!
Print
DIY Dessert S’mores Station Recipe
- Prep Time: 10 minutes
- Cook Time: 5 minutes
- Total Time: 15 minutes
- Yield: 24 s’mores
- Category: Dessert
- Method: Roasting
- Cuisine: American
Description
Create a fun and interactive DIY Dessert S’mores Station perfect for parties or family gatherings. This station features a variety of marshmallows, chocolates, and cookies, allowing everyone to customize their own delicious s’mores with fresh fruit slices and a selection of graham crackers and cookies for a sweet, gooey treat.
Ingredients
Marshmallows
- Regular marshmallows
- Strawberry marshmallows
- Mint chocolate chip marshmallows
Chocolate
- Peanut butter cups
- Dark chocolate bars
- Milk chocolate bars
Fresh Fruit
- Banana slices
- Strawberry slices
Cookies and Crackers
- Graham crackers
- Chocolate graham crackers
- Chocolate chip cookies
- Brownie brittle
Instructions
- Prepare Marshmallows and Bases: Set the regular, strawberry, and mint chocolate chip marshmallows into separate bowls for easy access. Arrange all cookie and graham cracker options on a large serving tray, making them visually appealing and reachable.
- Arrange Chocolates: Place peanut butter cups, dark chocolate bars, and milk chocolate bars into a bowl to facilitate easy grabbing for s’mores assembly.
- Prep Fruit: Slice fresh strawberries and bananas and neatly place them on plates, so guests can add a fresh touch to their s’mores creations.
- Roast and Assemble: Provide a safe roasting area where guests can roast their selected marshmallows to golden perfection. Afterwards, guests can build their own custom s’mores by layering roasted marshmallows with chosen chocolates, fruits, and cookie bases for a personalized dessert experience.
Notes
- Ensure adult supervision when roasting marshmallows, especially with children.
- Use gluten-free graham crackers or cookies if catering to gluten-sensitive guests.
- Offer skewers or roasting sticks for safely toasting marshmallows.
- Keep cold items like fresh fruit refrigerated until serving time to maintain freshness.

